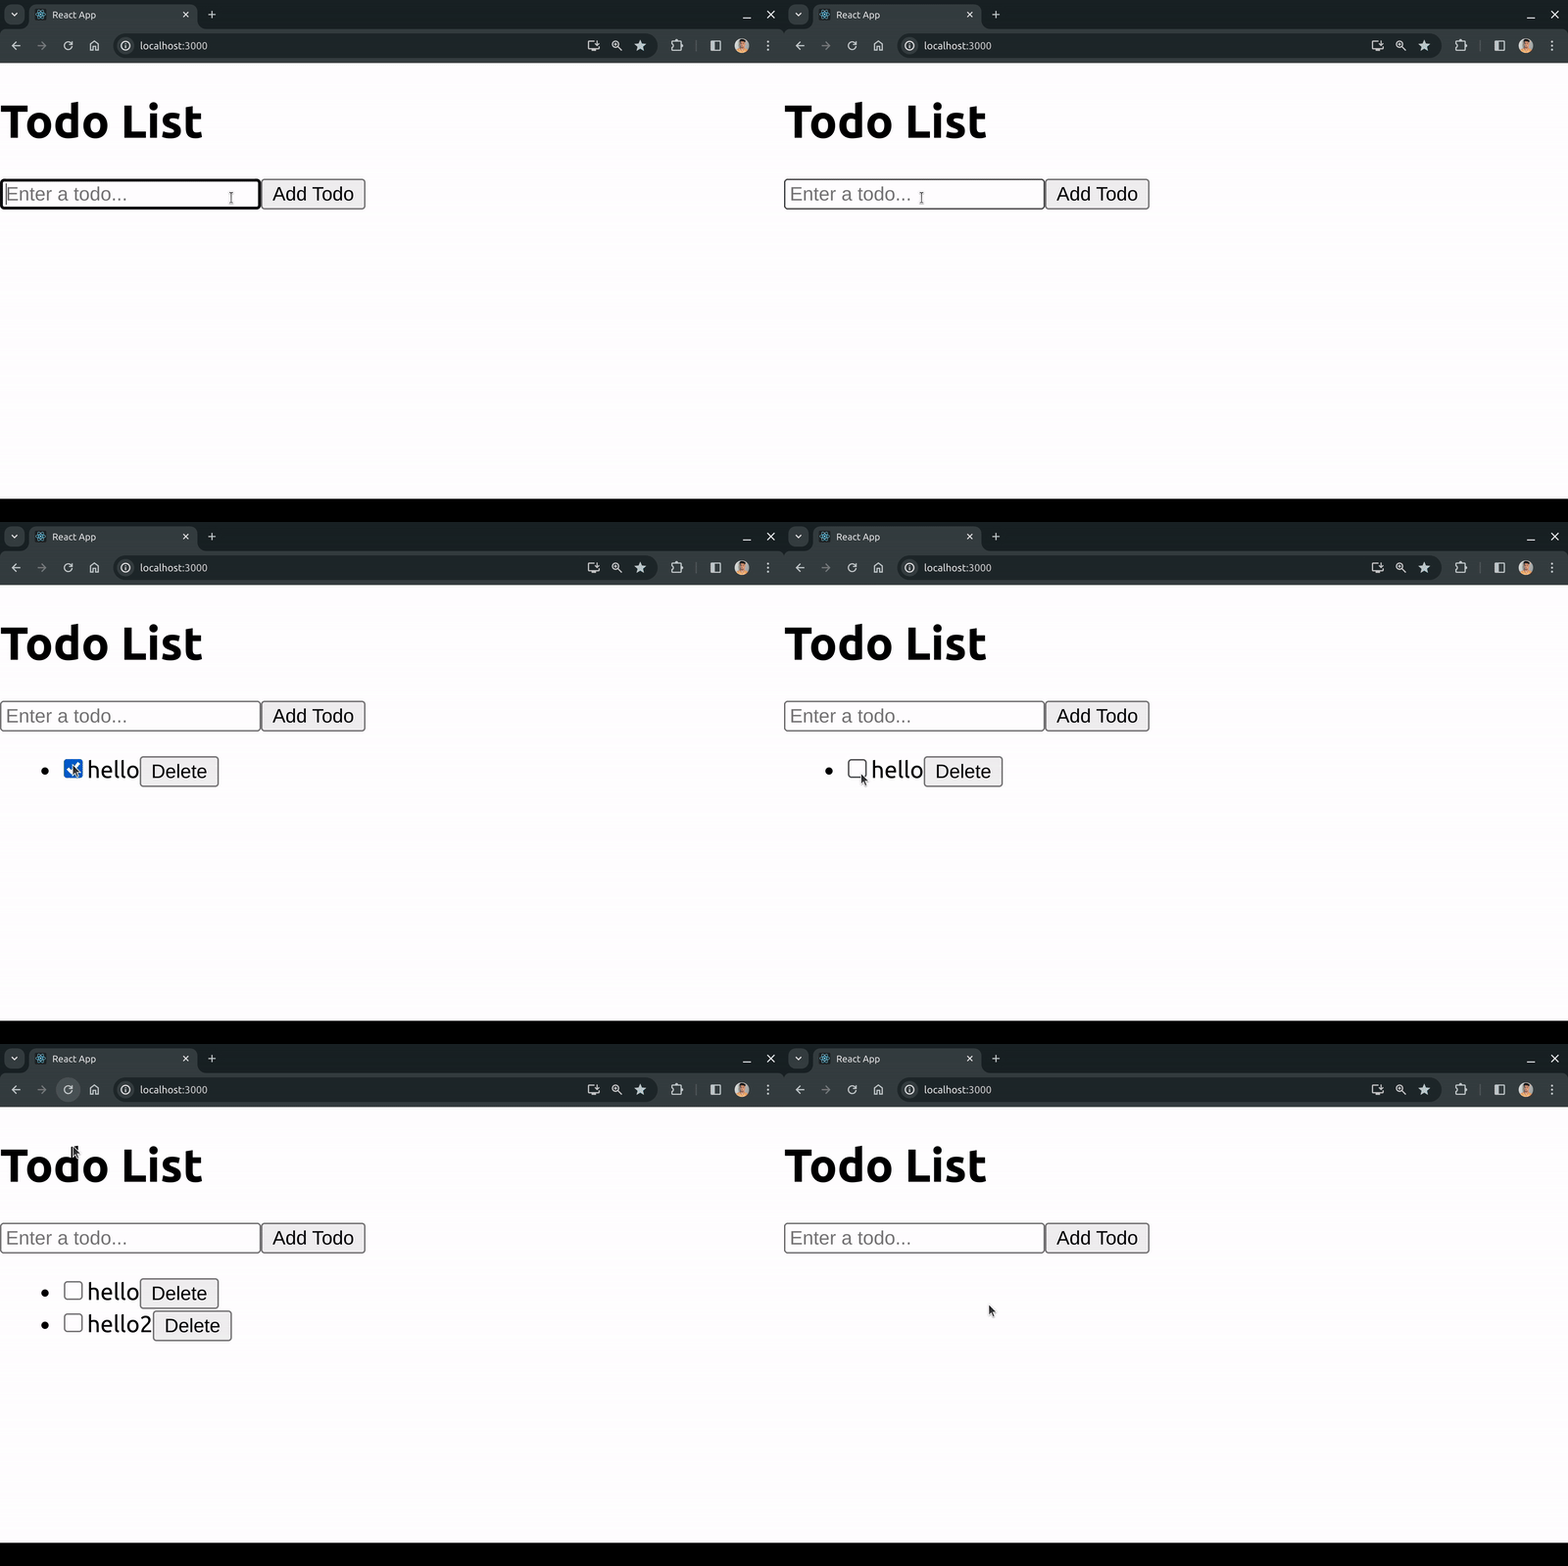
Todo list app
Build a todo list app using react js and localstorage
In This tutorial you will learn how to make a simple todo list app using react js.

You need to follow these steps:
1. Project Setup
- Open your terminal and navigate to your desired project directory.
- Run the following command to create a new React app named "todo-list":
npx create-react-app todo-list
- Navigate to the project directory:
cd todo-list
- Start the development server to see your initial app running in the browser:
npm start
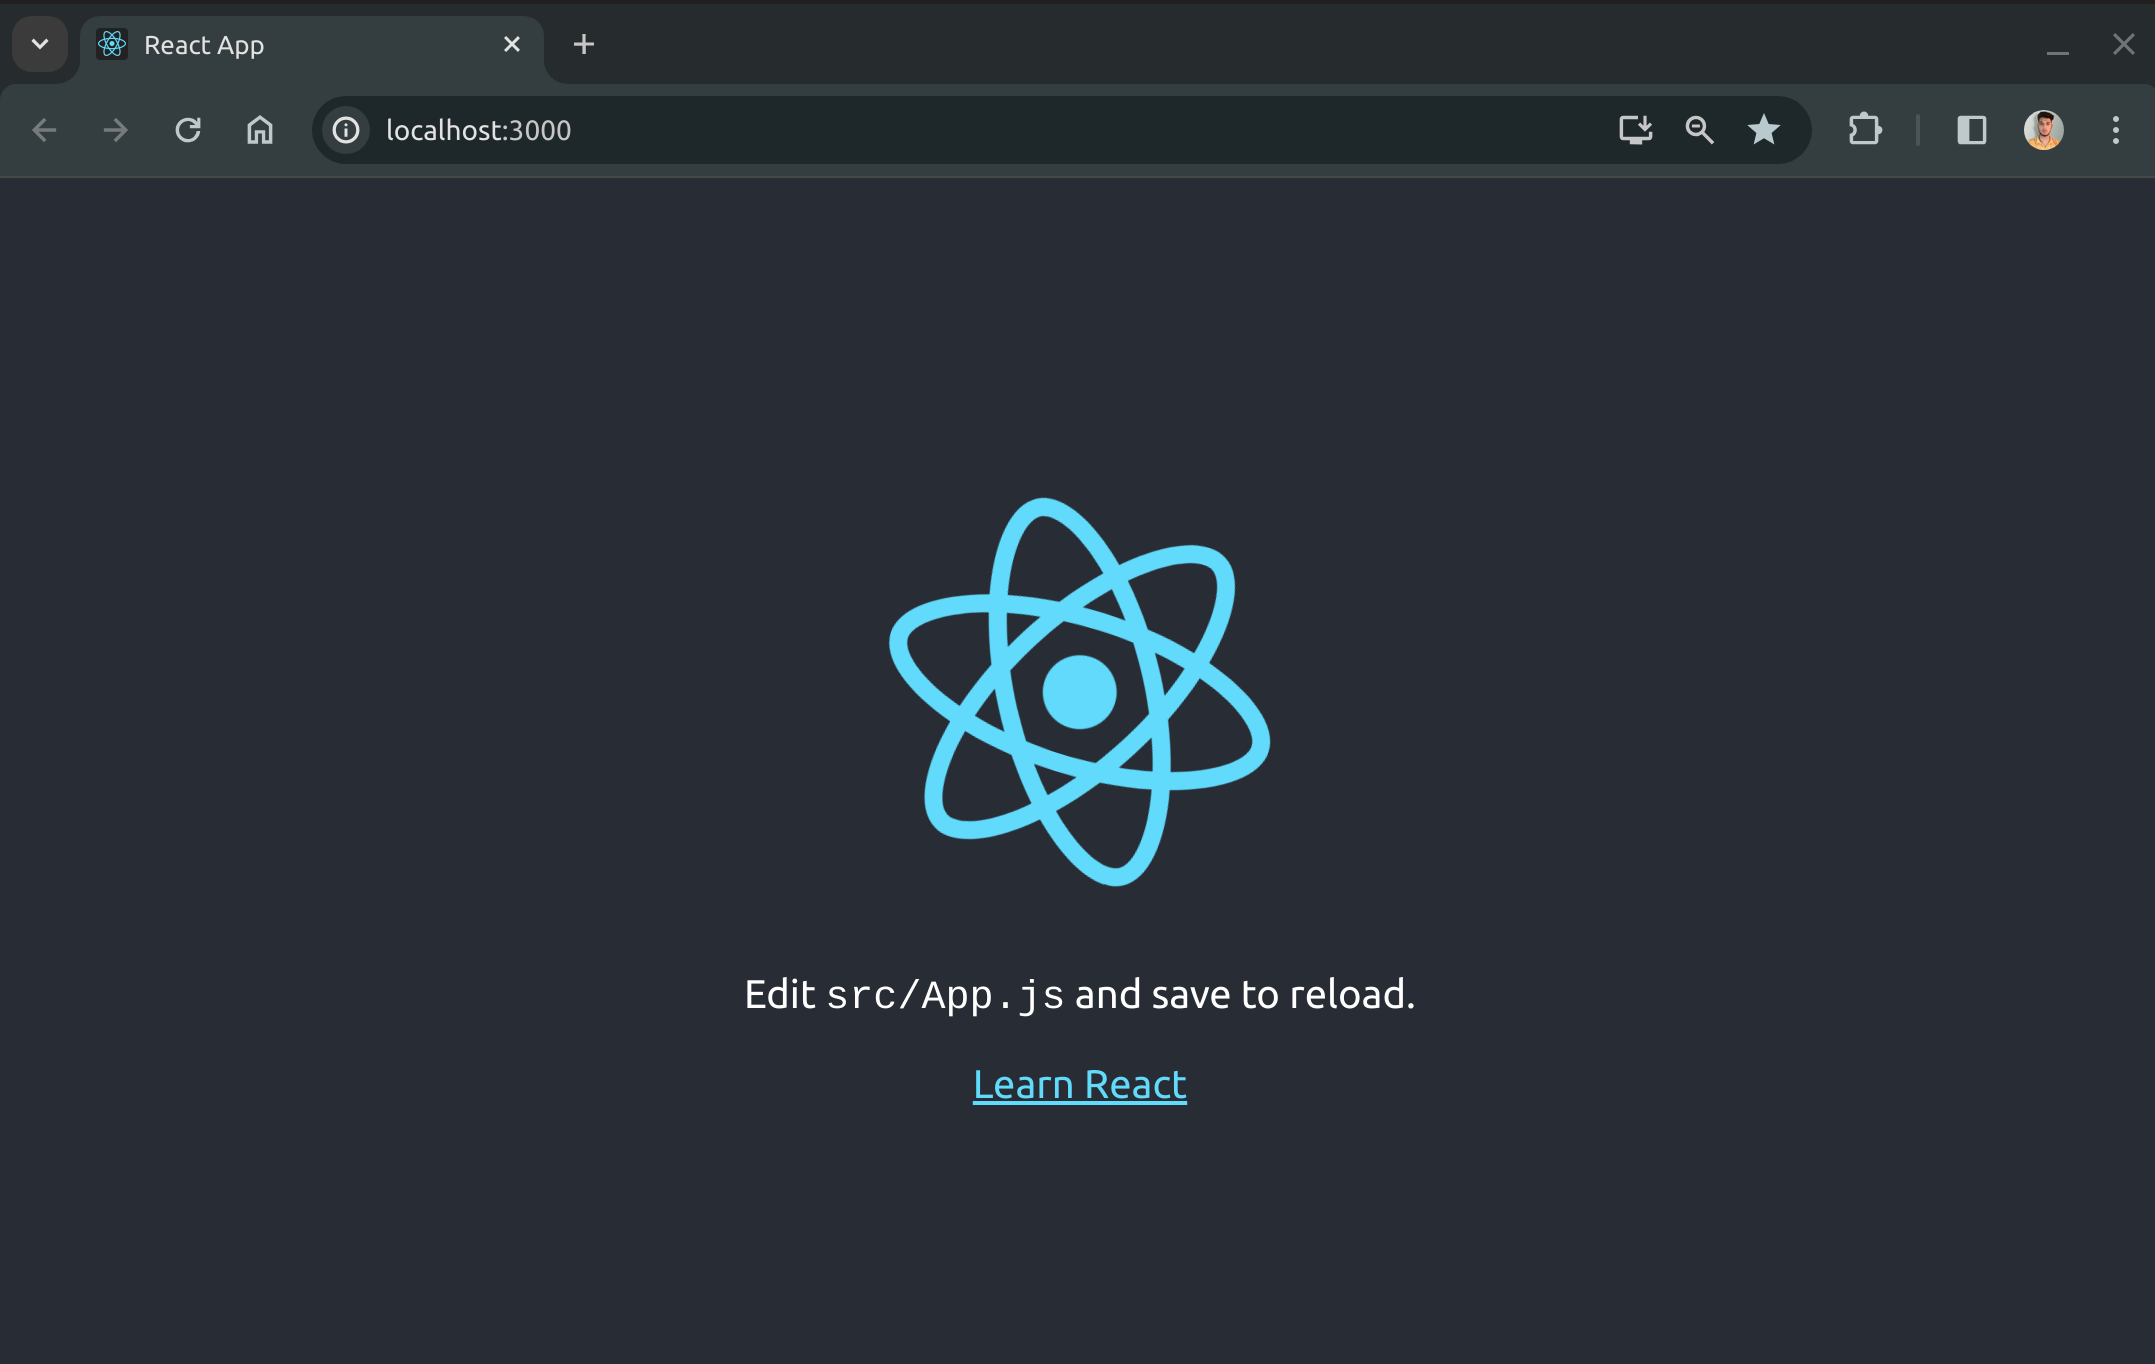
by default on localhost:3000 you will see a welcome page.

Now let's move on the next step:
2. Working Directory
We'll work in our main component:
- App.js: The main container component.
Our folder structures would be something like this The typical folder structure for a React to-do list app would look like this:
todo-list/
├── public/  // (Optional) Stores static assets like favicon
│   └── index.html  // (Optional) Serves as the entry point for the app
├── src/
│   ├── App.js  // Main container component
│   └── index.js  // Entry point for the React app
└── package.json  // Manages project dependencies
3. Open App.js
Open App.js and replace its content with the following code:
import React from 'react';

function App() {

  return (
    <div>
      <h1>Todo List</h1>
      <input
        type="text"
        placeholder="Enter a todo..."
      />
      <button>Add Todo</button>
      <ul>
        <li>Todos will go here...</li>
      </ul>
    </div>
  );
}

export default App;
- We Have created a very simple ui for taking input from
user - We will use
Add Todobutton to add our todos insidelielement.
4. Add todo functionality
In App.js and add the following code:
import React, { useState } from 'react';

function App() {
  const [todos, setTodos] = useState([]);
  const [inputValue, setInputValue] = useState('');

  const handleAddTodo = () => {
    if (inputValue.trim() !== '') {
      setTodos([...todos, { title: inputValue, isCompleted: false }]);
      setInputValue('');
    }
  };

  const handleInputChange = (event) => {
    setInputValue(event.target.value);
  };

  return (
    <div>
      <h1>Todo List</h1>
      <input
        value={inputValue}
        onChange={handleInputChange}
        type="text"
        placeholder="Enter a todo..."
      />
      <button onClick={handleAddTodo}>Add Todo</button>
      <ul>
        {todos.map((todo, index) => (
          <li key={index}>{todo.title}</li>
        ))}
      </ul>
    </div>
  );
}

export default App;
- First We Start by importing
useStatewhich will help us to manage our state. - Then we use
array destructuringto manage ourtodowhich syntax is like this
const [todos, setTodos] = useState([]);
where[]means our todos are in anarray
const [todos, setTodos] = useState([]);
- Same thing we do for
inputValue, it will handle value from ourinputelement.
const [inputValue, setInputValue] = useState('');
- Then we create
handleInputChangefunction which monitorsinputelement and set its changed value toinputValueusing settter functionsetInputValue.
const handleInputChange = (event) => {
  setInputValue(event.target.value);
};
handleAddTodofunction first check ifinputValueis empty or not, if not then it uses setter functionsetTodosto updatetodosvalue. It then usesarray destructuringto keep previous todo there...todosand addingtitletoinputValue.
We also have isCompleted value which we will make use later.
const handleAddTodo = () => {
  if (inputValue.trim() !== '') {
    setTodos([...todos, { title: inputValue, isCompleted: false }]);
    setInputValue('');
  }
};
5. Adding Complete functionality
Change the code inside your ul element with following one;
<ul>
   {todos.map((todo, index) => (
     <li key={index}>
       <input
         type='checkbox'
         checked={todo.isCompleted}
         onChange={() => handleToggleTodoComplete(index)}
       />
       {todo.title}
       <button onClick={() => handleDeleteTodo(index)}>Delete</button>
     </li>
   ))}
</ul>
- Now we are adding functionality to check whether our task completed or not.
- For this we add an input element which type is
checkbox, and it is refering toisCompleted, which is abooleanvalue. - To handle this check functionality we create
handleToggleTodoCompletewhich takesindexas an argument every time we change checkbox value. MakehandleToggleTodoCompletelike this.
const handleToggleTodoComplete = (index) => {
  const updatedTodos = todos.map((todo, i) => {
    if (i === index) {
      return { ...todo, isCompleted: !todo.isCompleted };
    }
    return todo;
  });
setTodos(updatedTodos);
};
It maps over todos set isCompleted to true in the todo that has index which we passed on onChange.
6. Adding Delete functionality
Replace your code inside li element with following code ;
<ul>
  {todos.map((todo, index) => (
    <li key={index}>
      <input
        type='checkbox'
        checked={todo.isCompleted}
        onChange={() => handleToggleTodoComplete(index)}
      />
      {todo.title}
      <button onClick={() => handleDeleteTodo(index)}>Delete</button>
    </li>
  ))}
</ul>
- We have added a
buttonelement which listens for onClick event and callhandleDeleteTodofunction withindexvalue. - Now Make
handleDeleteTodofunction and add following code to that
const handleDeleteTodo = (index) => {
  const updatedTodos = todos.filter((_, i) => i !== index);
  setTodos(updatedTodos);
};
It uses javascript filter array method to remove that perticular todo which has matching index.
7. Add localStorage functionality
Now we are able to do add delete and other operations in our application but ones you refresh the page you will see all your todo has gone.
To fix this we will add localStorage which will save our todos in browsers storage
Update App.js below code :
import React, { useState, useEffect } from 'react';

function TodoApp() {
  const [todos, setTodos] = useState([]);
  const [inputValue, setInputValue] = useState('');

  // Load todos from local storage on component mount
  useEffect(() => {
    const storedTodos = JSON.parse(localStorage.getItem('todos'));
    if (storedTodos) {
      setTodos(storedTodos);
    }
  }, []);

  // Update local storage whenever todos change
  useEffect(() => {
    if (todos.length > 0) localStorage.setItem('todos', JSON.stringify(todos));
  }, [todos]);

  const handleInputChange = (event) => {
    setInputValue(event.target.value);
  };

  const handleAddTodo = () => {
    if (inputValue.trim() !== '') {
      setTodos([...todos, { title: inputValue, isCompleted: false }]);
      setInputValue('');
    }
  };

  const handleDeleteTodo = (index) => {
    const updatedTodos = todos.filter((_, i) => i !== index);
    setTodos(updatedTodos);

    // Check if there are no todos left
    if (updatedTodos.length === 0) {
      // Clear local storage
      localStorage.removeItem('todos');
    }
  };

  const handleToggleTodoComplete = (index) => {
    const updatedTodos = todos.map((todo, i) => {
      if (i === index) {
        return { ...todo, isCompleted: !todo.isCompleted };
      }
      return todo;
    });
    setTodos(updatedTodos);
  };

  return (
    <div>
      <h1>Todo List</h1>
      <input
        type="text"
        value={inputValue}
        onChange={handleInputChange}`
        placeholder="Enter a todo..."
      />
      <button onClick={handleAddTodo}>Add Todo</button>
      <ul>
        {todos.map((todo, index) => (
          <li key={index}>
            <input
              type='checkbox'
              checked={todo.isCompleted}
              onChange={() => handleToggleTodoComplete(ind~ex)}
            />
            {todo.title}
            <button onClick={() => handleDeleteTodo(index)}>Delete</button>
          </li>
        ))}
      </ul>
    </div>
  );
}

export default TodoApp;
- We have imported
useEffectwhich will allow us to get and save ourtodoseverytime they change and when we load the page. - First we add our todo in localStorage like this
useEffect(() => {
  if (todos.length > 0) localStorage.setItem('todos', JSON.stringify(todos));
 }, [todos]);
We do this every time todos change. useEffect will run everytime the value inside [] changes. That's why we have added todos inside [].
We are also checking todos length it will help use when we are loading the page.
- Then add another useEffect which will run only ones the page load
useEffect(() => {
    const storedTodos = JSON.parse(localStorage.getItem('todos'));
    if (storedTodos) {
      setTodos(storedTodos);
    }
}, []);
We are also using json to save todos in localStorage, Which converts into javascript objest seemlessly.
- Also when deleting last item we remove todos form localstorage completly by adding following code to
handleDeleteTodofunction.
if (updatedTodos.length === 0) {
  localStorage.removeItem('todos');
}
Now that you've created your own todo-list app it is not end yet you can improve it by using your own css and by adding other functionlities like updating todo and database integration